Author: Aniruddh

  • How to take screenshot on Honor 8

    Capturing screenshot on Android device is very useful on many occasions. Many manufacturers with their customised skin, provide multiple easy methods to perform print screen. In this post, we will learn on  how to take screenshot on Honor 8 apart from default android method.

    How to take screenshot on Honor 8

    Recommended Reading:

    Honor 8 FAQ

    How to take screenshot on Honor 8

    There are multiple ways through which you can capture screenshot on Honor 8. In this post we will cover 3 different methods of performing print screen on this device.

    Method 1: Using the screenshot button

    This is one most easiest way to capture screenshot on this device. To take screenshot on Honor 8 using this method follow the steps given below:

    • Go to the screen on which you want to perform print screen.
    • Now to go to notification area. Tap on shortcuts.
    • You will find screenshot button. Tap on to it.
    • Screenshot will be captured.

    Method 2: Using the fingerprint scanner button to take screenshot on Honor 8

    For using this method, first you need to assign screenshot function to fingerprint scanner button. For that,

    • Go to settings->Smart Gestures->Smart Key.
    • You have 3 options. You can assign screenshot function to single press or double press or Long press.
    • Select the one you want and tap on to it. Select Screenshot.
    • Now whenever you want to capture screenshot on Honor 8, just perform the action you have selected in the above method. For example, if you have assigned single press to take screenshot, then on a screen on which you want to take screenshot, press the fingerprint scanner button.

    Method 3: Using the Knuckle gesture to take screenshot on Honor 8

    For taking screenshot using this method, first you need to enable Knuckle gesture by going to Settings-> Smart Assistance->Motion control. Enable Knuckle gesture.

    Now whenever you want to take screenshot on Honor 8, just double tap using your knuckle on the screen in which you want to take screenshot. The screenshot will be taken.

    The screenshots which are captured using any of the above methods will be saved in the Gallery folder.

    Video Guide on how to take screenshot on Honor 8

  • Asus Zenfone 3 Max FAQ Tips and Tricks Cons

    Asus has recently launched its Zenfone 3 Max smartphones in India. It will be available in two variants. The 5.2 inch variant price in India is Rs.12,999 and 5.5 inch variant price is Rs. 17,999. In this post we will have a quick look into Asus Zenfone 3 Max FAQ, Tips and Tricks, Cons.

    Asus Zenfone 3 Max

     Asus Zenfone 3 Max FAQ Tips and Tricks Cons

    What are the different variants of Asus Zenfone 3 Max available? From when it will be available for buy?

    It comes in 2 variants. ZenFone 3 Max ZC520TL and Zenfone 3 Max ZC553KL. ZenFone 3 Max ZC520TL with 5.2 inch screen is already available in the market via online stores as well as via physical store.  The 5.5 inch variants of Zenfone 3 Max with model number ZC553KL will be available from end of November.

    Does it has dedicated microSD card slot? What type of sim cards this device accepts?

    No. It comes with hybrid sim card slot. It supports one micro SIM card and one nano sim card or one micro SIM card with microSD card.

    In how many colours this device available?

    Zenfone 3 Max will be available in 3 colours options namely Glacier Silver, Sand Gold, and Titanium Gray.

    What are the specifications of Zenfone 3 Max ZC520TL(5.2 inch variant)?

    The specification summary of Zenfone 3 Max.

    • 5.2 inch 720p HD display screen.
    • 1.25GHz quad-core MediaTek MT6737T SoC with Mali T720 GPU.
    • 3GB of RAM and 32GB internal storage.
    • 13MP primary camera and 5MP front facing camera.
    • 4G LTE, Wi-Fi 802.11 b/g/n, GPS, Bluetooth v4.0, Micro-USB, and FM radio.
    • Accelerometer, ambient light sensor, gyroscope, and proximity sensor.
    • 4100mAh battery.
    • Dimensions:149.5×73.7×8.55mm and weight: 148 grams.

    How to take screenshot on Asus Zenfone 3 Max?

    I have done a detailed post on how to take screenshot on Asus Zenfone 3. You can refer link here.

    What are the cons of Zenfone 3 Max ZC520TL(5.2 inch variant)?

    This is not a review of Zenfone 3 Max ZC520TL (5.2 inch variant). Based on the specifications and feedback from the initial users of this device, here are some of the cons of Zenfone 3 Max ZC520TL.

    • No full HD display screen.
    • No fast charging and USB-C type port.
    • Mediocre processor.
    • Hybrid sim card slot.
    • Lot of bloatware.
    • Price looks bit high for the configuration.
    • Lower battery capacity compared to its predecessor.
  • How to take screenshot on Samsung Galaxy J7 Prime

    Samsung Galaxy J7 Prime is one of the popular mid range android smartphone in India. If you have purchased this smartphone and wondering how to take screenshot on Samsung Galaxy J7 Prime, here are the some of the ways to capture screenshot on Galaxy J7 Prime.

    how to take screenshot on Samsung Galaxy J7 Prime

    Recommended Reading

    How to use Samsung Galaxy J series smartphones as Wifi Hotspot

    How to take screenshot on Samsung Galaxy J7 Prime

    There are multiple ways through which you can capture screenshot on Galaxy J7 Prime. In this post, we will cover 2 methods of performing print screen on Galaxy J7 Prime which works out of the box without the need of installing third party apps.  Let’s gets started with  how to take screenshot on Samsung Galaxy J7 Prime.

    Using hardware buttons method to take screenshot on Galaxy J7 Prime

    To capture screenshot on Galaxy J7 Prime using this method, follow the steps given below.

    • Go to the screen on which you want to take screenshot.
    • Now press and hold power and Home key simultaneously for few seconds. To be precise, you need to press Power key fraction of a second faster than volume down key.
    • Screen will flickr which confirms that, screenshot is captured.

    How to access taken screenshot on Galaxy J7 Prime?

    Taken screenshot using the this method will be saved in the Gallery folder.

    Take screenshot on Samsung Galaxy J7 Prime using Google screen search method

    To perform print screen on Galaxy J7 prime using this method, follow the steps given below.

    • First go to the screen on which you want to capture the screenshot.
    • Now long press on the home button.
    • The screenshot is taken.
    • However unlike previous method, here the screenshot is not saved by default.
    • You will get the option to share via email, whatsapp etc or save in the Google Drive.

    There are many other ways to take screenshot on Samsung Galaxy J7 prime. These are the simple ways to capture screenshot on this device according to us. If you know other ways to capture screenshot on Galaxy J7 prime, please share it in the comment section below.

    Video guide on how to take screenshot on Samsung Galaxy J7 Prime

    Here is the video on how to take screenshot on most of the Samsung Galaxy J series smartphones.

  • Lenovo PHAB 2 Plus in India- FAQ Tips Tricks Cons

    Lenovo has launched its much anticipated smartphone Phab 2 plus in India. Being priced at Rs.14,999, it is targeting the audience who wants to use their device for data consumption and for multimedia more than voice calling. In this post, we will have a quick look into Lenovo Phab 2 Plus FAQ, Tips and Tricks and Cons.

    Recommended Reading:

    Xiaomi Mi Max FAQ, Tips and Tricks, Cons

    Lenovo Phab 2 Plus


    Lenovo PHAB 2 Plus in India- FAQ Tips and Tricks Cons

    What are the different color options available?

    The device will be available in Champagne Gold and Gunmetal Grey color options.

    What type of sim cards Lenovo Phab 2 Plus accepts? Does it has dedicated microSD card slot?

    Lenovo Phab 2 Plus accepts 1 micro SIM card and 1 nano sim card. It does not have dedicated microSD card slot. You can insert microSD card instead of 2nd sim card.

    What are the specification of Lenovo Phab 2 Plus?

    Specification summary of the device is as follows.

    • 1.3GHz octa-core MediaTek MT8783 SoC with 3GB of RAM and Mali T720.
    • 6.4 inch full HD 2.5D curved glass display.
    • 13 MP primary Dual Camera with 1.34-micron pixels, powered by Fujitsu Milbeaut image signal processor and Dual LED flash.
    • 8 MP front facing camera with an f/2.2 aperture and 1.4-micron pixels.
    • 4G LTE (with support for Indian bands), Wi-Fi 802.11ac, Bluetooth 4.0, and GPS.
    • 4050mAh battery.
    • 32 GB of internal storage and support for microSD card upto 128 GB.
    • Dual sim hybrid sim card slot(Micro SIM + Nano SIM).
    • Accelerometer, ambient light sensor, gyroscope, proximity sensor, and magnetometer.

    Does Lenovo Phab 2 Plus is compatible with Reliance Jio service?

    As per the company statement, the device is compatible.

    What are the Lenovo Phab 2 Plus box content?

    Phab 2 Plus, JBL Earphones, Charger, Safety/Warranty Guide, Quick-Start Guide.

    What are the cons of Lenovo Phab 2 Plus?

    This is not a review. These cons are based on the specification sheet.

    • Feels big and bit bulky due to large screen size.
    • Hybrid sim card slot.
    • Non user removable battery.


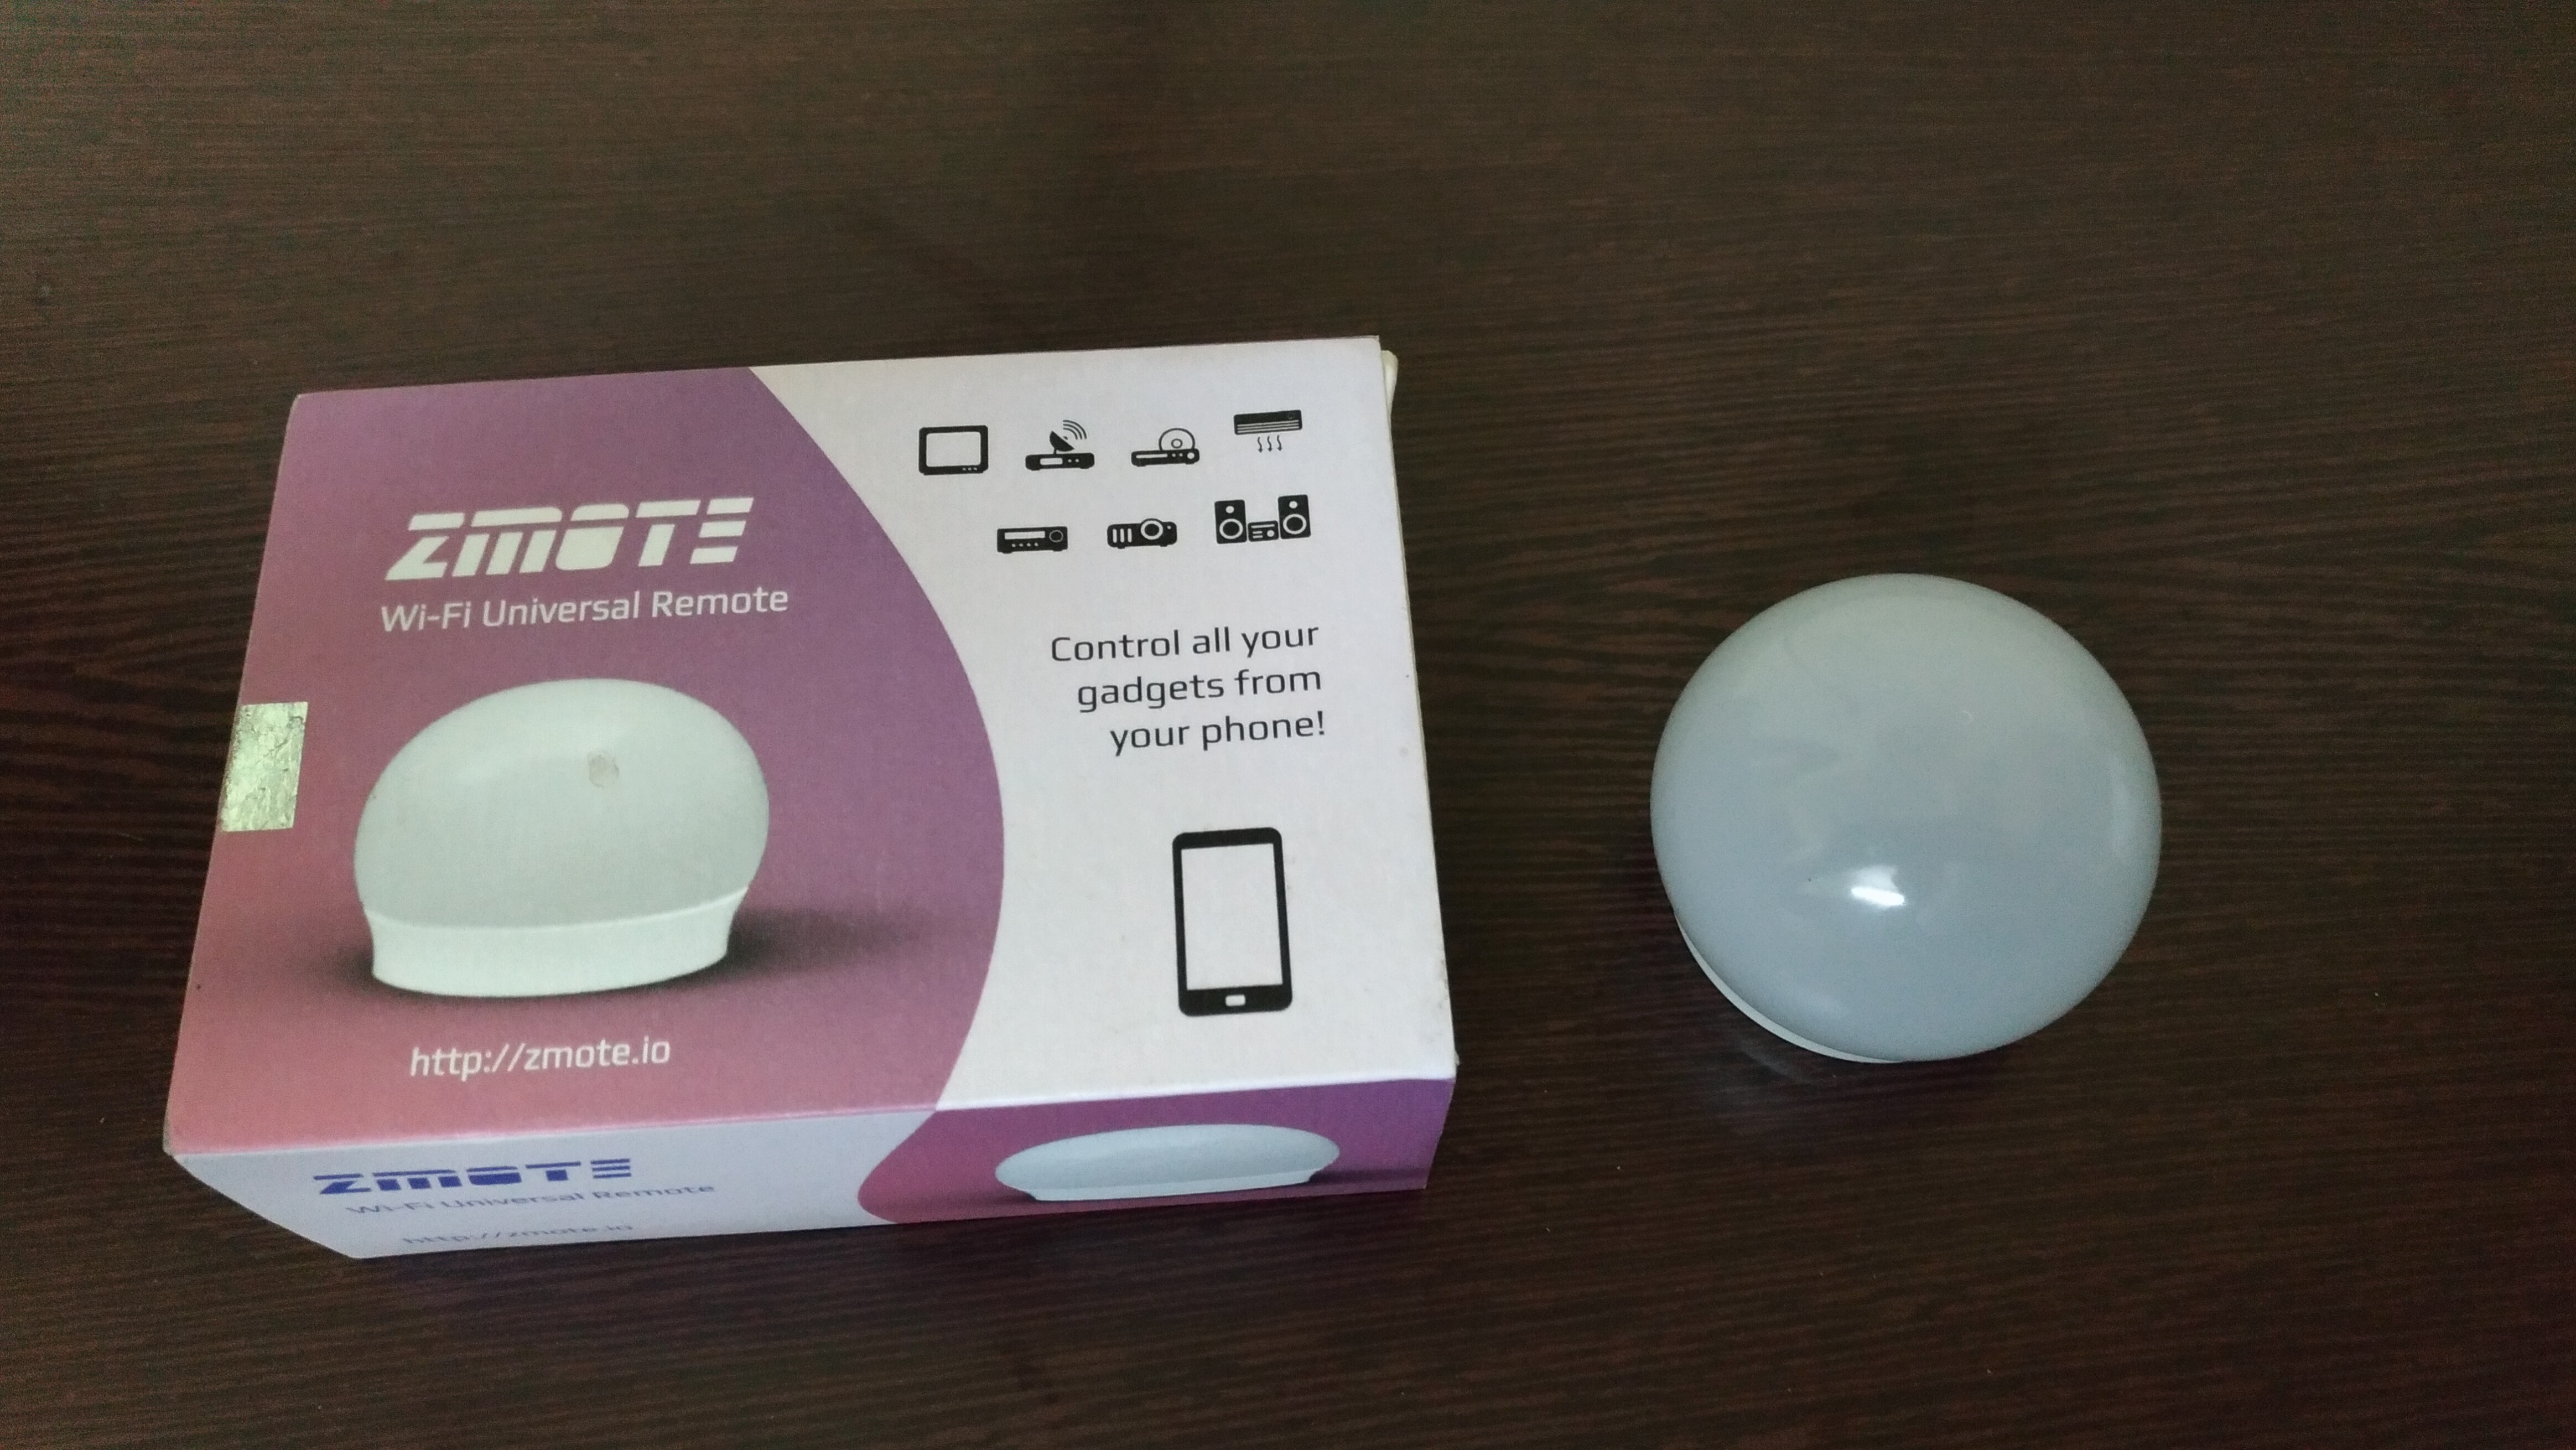
  • ZMOTE Wi-Fi Universal Remote

    Ever since increase in the remote controllable devices, number of remote controls to manage those devices are also increasing.  Nowadays TV, STB, AC, music player, projector etc all comes with a remote control. Having a different remote control for all of these devices started creating  problem.  So there comes the universal remote controls which can manage multiple devices. There are some smartphones which comes with IR blaster which works as a universal  remote controller. But, what if your smartphone does not have IR blaster feature?. ZMOTE Wi-Fi Universal Remote might be the answer to it.

    ZMOTE Wi-Fi Universal Remote

    ZMOTE is a wifi connected IR blaster with learning and monitoring capabilities. Once configured, you can use it as a universal remote by placing it in your living room and controlling all your gadgets (TV, STB, AVR, Media PC, projector, XBOX etc) from your phone or over the web using a regular browser.

    ZMOTE comes with its own web app, which allows you to add remote from its database. Using the web app, you can even customise the remote. It also has the ability to learn new key presses from your existing remote.  Out of the box ZMOTE works well with many third party apps such as Smart TV remote, iRule, Home remote etc.

    One of the biggest advantage of this Wi-Fi Universal Remote is the option to control the device from far away. As long as ZMOTE is connected to WiFi network with internet and placed in front of the device which you want to control  and your phone/laptop is connected to internet, you will be able to control the device irrespective how far you are.

    ZMOTE Wi-Fi Universal Remote Features

    • Control your multiple gadgets(IR based remote supported devices) from phone or laptop or iPad.
    • To control the device, no need to be in front of the device.
    • Has database of more than 3000+ remotes.
    • It is OS independent as it works with Web app.
    • Compatible with many third party apps such as Smart TV remote, iRule, Home Remote etc.
    • Ability to backup existing remote using learning feature of zmote.
    • ZMOTE also offers developer friendly APIs and tools if you are into DIY home automation.

    ZMOTE is available for sale in India for Rs. 2499 via ebay.in. It is also sold on for customers outside India.