Author: Aniruddh

  • How to set up Wi-Fi on HP LaserJet Tank printer

    HP LaserJet Tank printers offers good quality printouts with very low cost of maintenance. One of the advantage with HP LaserJet Tank MFP 1005 is connectivity feature. It supports, Wi-Fi, Wi-Fi direct along USB connectivity. Connecting a HP Printer to Wi-Fi enables it to take printout wirelessly from multiple devices such as smartphone, tablets, laptop etc. In this post, let us explore the way to set up Wi-Fi on HP LaserJet Tank printer using HP smart app on a smartphone.

    Setup Wi-Fi on HP LaserJet Tank MFP 1005w

    Here is the step by step guide.

    1. Connect your HP printer to the power source and power it on.
    2. If your printer is new you can skip below steps and move on to the next step. If you have changed your Wi-Fi network or you want reset Wi-Fi setting, then
      • Press the cancel button once to ready the printer.
      • Press and hold information button for 5 seconds until control panel lights up.
      • Next press and release Wi-Fi and cancel button together.
      • WiFi LED and Power buttons will start blinking and the display screen shows setup mode. Wait approximately 60 seconds.
    3. Install “HP smart App” on your smartphone. You need to also install “HP Print service Plugin”.
    4. Launch the HP smart App. Post agreeing to the terms and conditions, tap on “Add your first printer” and then “Get Started”.
    5. You will get a page which asks you about how do you want to connect this printer. Choose “WiFi” and tap continue.
    6. It will show the printer on the screen. Select it and enter the WiFi password.
    7. Tap continue to go to the next step.
    8. You will get a pop up which ask you to press the information button on printer. Press the “i” button on printer.
    9. Wait for few minutes.
    10. Your printer will get connect to the WiFi.

    This way you can connect to your HP printer to the WiFi and configure HP smart App.

  • How to wipe cache partition in Samsung Galaxy S22 Ultra using Android Recovery Mode

    Wiping cache partition fixes some of the bugs and improve performance by removing unwanted cache files. So in this post let’s explore how to wipe cache partition in Samsung Galaxy S22 Ultra.

    Wipe cache partition in Samsung Galaxy S22 Ultra

    How to enter into Android Recovery Mode on Galaxy S22 Ultra

    • Turn off your phone. You can refer to how to turn off Galaxy S22 for different methods to switch off.
    • Connect your phone with a USB cable to PC or another Samsung mobile.
    • You will see this charging icon on your S22 screen. Wait till it shows charging with battery percentage. Next, press and hold the Volume up and Side key simultaneously. You can press the Volume up button just before the Side key. Samsung Logo followed by Samsung Galaxy appears on the screen. At this point, release the keys.
    • Phone will boot into Android Recovery mode.

    Wipe Cache Partition in Galaxy S22 Ultra

    • In Android recovery mode, using Volume keys, choose “Wipe Cache Partition”. Then press Side Key.
    • Confirm by selecting “Yes” and then press Side Key.
    • You get “cache wipe complete” at the bottom of the screen.
    • Restart the phone to complete the process.

  • Samsung Galaxy A13: How to screenshot – 2 Ways

    If you want save what is there on the screen, here is how to take screenshot on Samsung Galaxy A13. This post covers two different ways along with method to take a long screenshot.

    How to take screenshot on Galaxy A13

    Method 1: Using the Hardware button combination

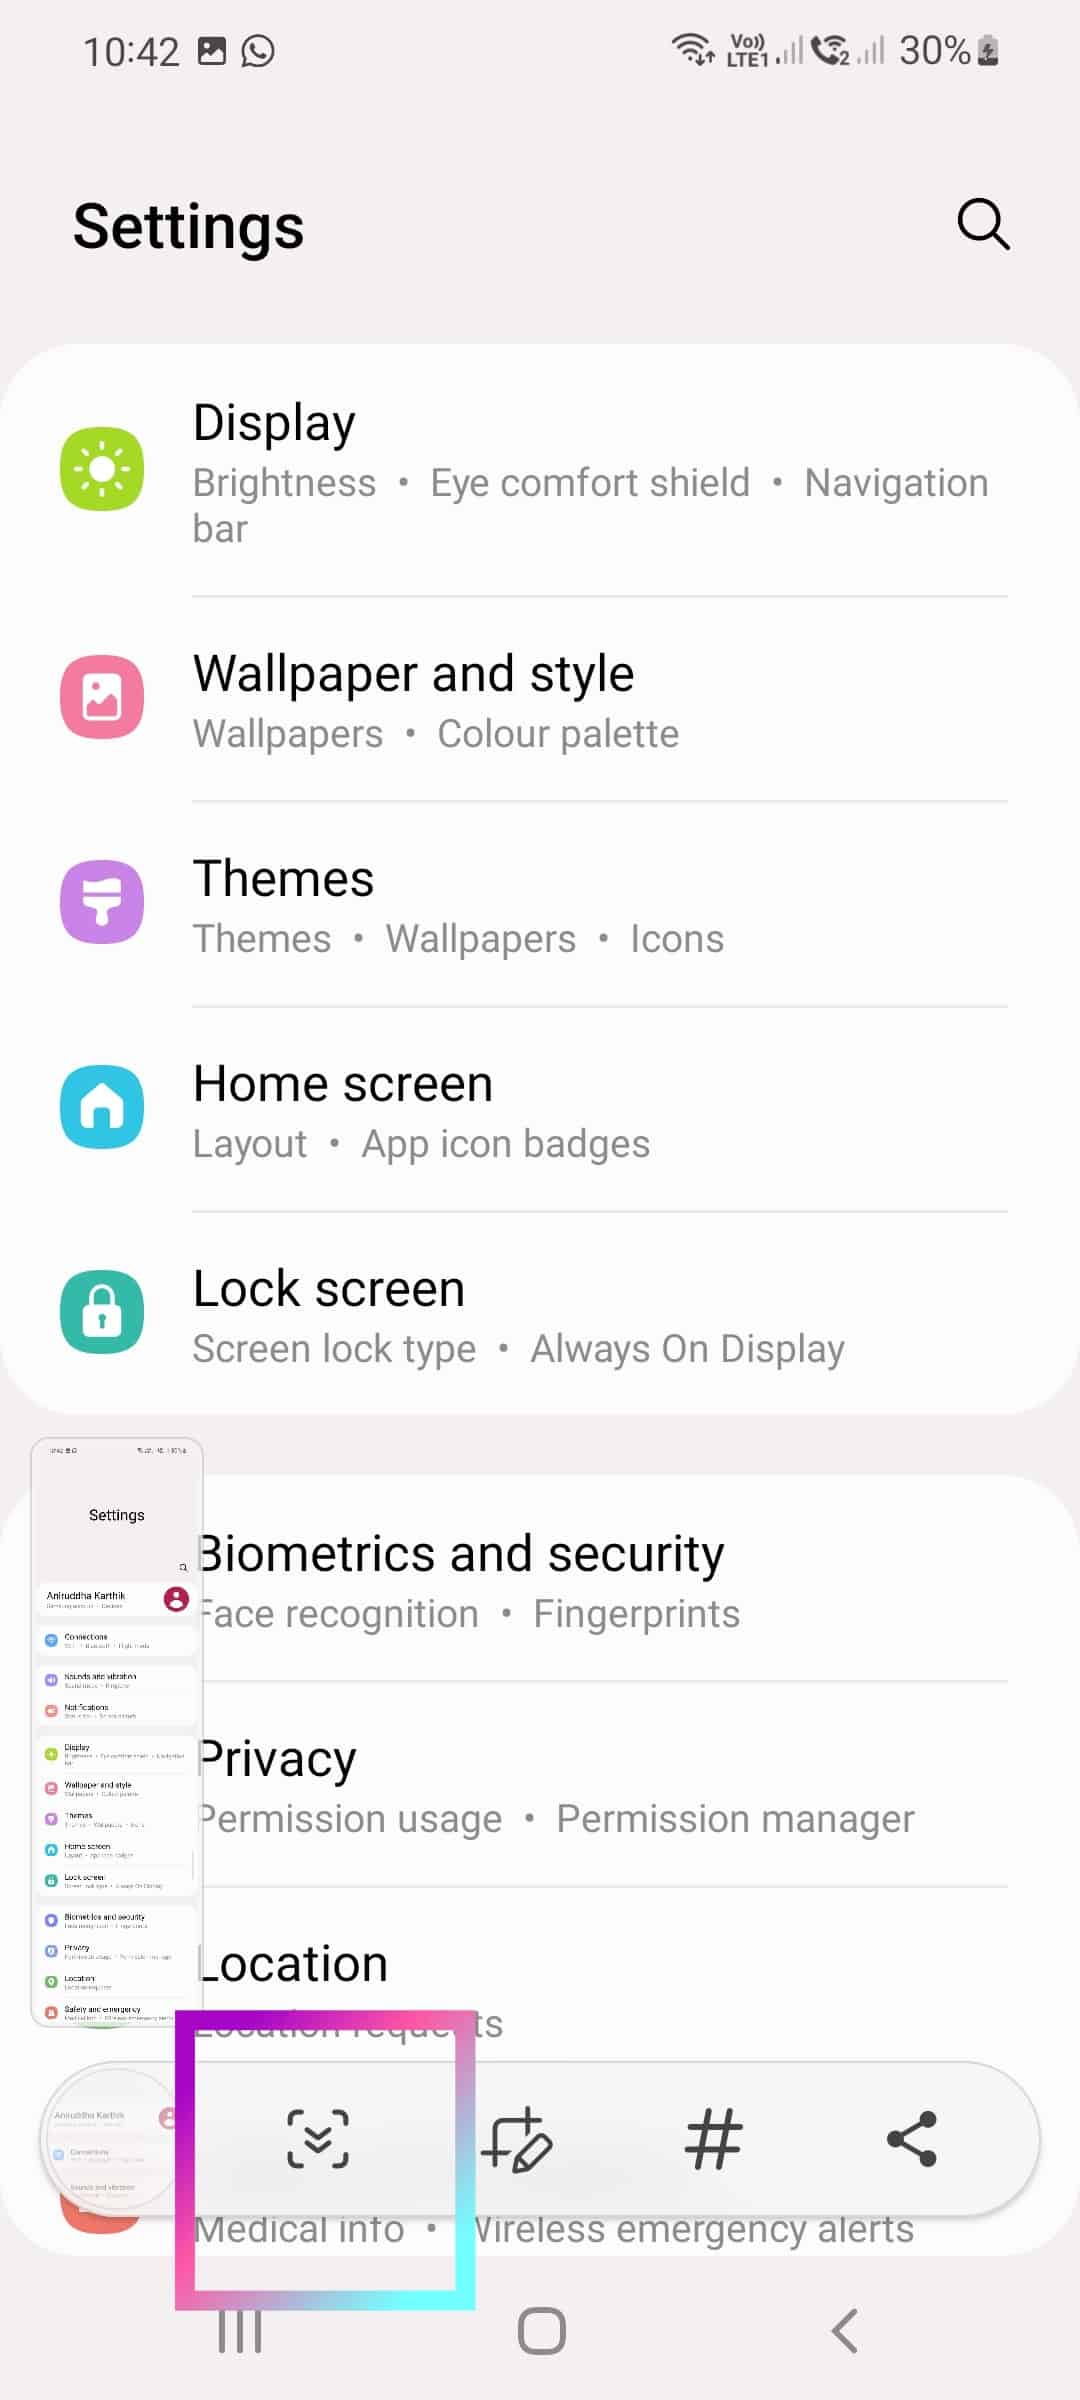
    To use this method to screenshot, go to the page you want. Now quickly press and release volume down and power buttons together. It will save the screenshot and screenshot toolbar will appear on the screen. Using the toolbar, you can edit or share the screenshot. If you have multiple pages, then the toolbar will show the long screenshot button. Tap on it. It will take the scroll screenshot.

    Method 2: Using the SideBar screenshot button

    To screenshot using this way,

    1. Go to Settings->Display -> Edge Panel.
    2. Toggle on Edge Panel by tapping on it.
    3. Next, Tap on panels.
    4. Select “Tasks”. This will add the tasks panel to the sidebar. This you need to do only once.  

    After this, whenever you want to take a screenshot or scroll screenshot, 

    1. Go to Edge Panel.
    2. Navigate to the Tasks page by swiping on the panels. You will get Take Screenshots button.
    3. Tap on it.

     It will take the screenshot. If you have multiple pages, you can long screenshot by tapping this button.  

  • Samsung Galaxy S22/S22+: How to Wipe cache partition

    Wiping the cache partition helps to fix some of the bugs or issues on Galaxy S22 or S22+. So in this post let us have a look into how to Wipe cache partition on Samsung Galaxy S22 or S22+ using the Android recovery mode.

    Wiping cache partition does not delete any personal data or app. It clears the cache data. However, it is recommended to keep a backup of your data incase if you lose the data.

    Recommended Reading:

    How to take screenshot on Samsung Galaxy S22 or S22+

    How to Wipe cache partition on Samsung Galaxy S22 or S22+

    Wipe cache partition in Samsung Galaxy devices running on Android 12

    Time needed: 5 minutes

    Quick guide to Wipe cache partition on Samsung Galaxy S22 or S22+

    1. Switch off your Galaxy S22 or S22+.

      There are multiple ways to switch off Galaxy S22. Pick any one of them. You can refer to earlier post on different ways to turn off Galaxy S22 or S22+ for more details.

    2. Connect your phone to a computer.

      Using a USB cable, connect one end to your phone and another end to the computer.

    3. Use two button combination.

      First press Volume up button and then without releasing it press and hold Power(Side key) button till Samsung logo appears on the screen. Then release the keys. Wait for a while. Phone will boot in recovery mode.

    4. Use Volume buttons to navigate.

      Using Volume down and Volume up depending on whether you want to navigate down or up, select “Wipe cache partition”. Then press Side key. Confirm once again by selecting “Yes” using the Volume keys and then press Side key. It will perform wipe cache partition activity.How to wipe cache Partition in Galaxy S22

    5. Get out of Android recovery mode and restart the phone.

      Once the clearing the cache is complete, select “Reboot system now” and press side key. The phone will restart.

    Hope this guide on how to wipe cache partition on Samsung Galaxy S22 or S22+ helpful. For any questions, please write in the comment section.

  • How to screenshot on Samsung Galaxy S22 or S22 Plus – 3 Ways

    Screenshot on Galaxy S22 or S22+ is one of the most sought feature. This is because it is a handy way to share whatever on the screen with someone or save for feature reference. For example, high score on a game, payment confirmation etc. So let us explore how to screenshot on Galaxy S22 or S22+.

    This post covers three different ways to capture screenshot along with long screenshot.

    Recommended Reading:

    Wipe Cache Partition on Samsung Galaxy S22 or S22+

    Turn off or Restart Galaxy S22 or S22+ – 3 Ways and remap side key to the power menu

    Take screenshot on Samsung Galaxy S22 or S22+

    Three different way to do print screen on Galaxy S22 and take a long or scroll screenshot.

    Three ways to screenshot on Samsung S22 or S22+

    Time needed: 1 minute

    Three different ways to screenshot on Galaxy S22 or S22 Plus.

    1. Using the hardware button combination

      To use this method, navigate to the page, you want to take a screenshot. Quickly press and release volume down and power(Side key) button. It will save the screenshot.

    2. Using the palm swipe gesture

      To use this method, swipe your palm from left to right or right to left. Ensure the edge of your palm slightly touches the screen. If palm swipe to capture gesture not working on your phone, go to to Settings and navigate to Advanced features. Here go to Motions and Gestures. Ensure the palm swipe to capture is on. If you use the screen protector, go to Settings, Display. Here toggle on “Touch sensitivity”. Now you will be able to take the screenshot using palm swipe.

    3. Using the Edge Panel Screenshot button

      Open the edge panel. Here tap on Settings. Add the “Tasks” board to the edge panel. Next whenever you want to capture screenshot on Galaxy S22, go to Edge panel. Navigate to the edge panel. Tap on.”Take screenshots.”

    4. Long or scroll screenshot

      To take scroll screenshot on Galaxy S22, go to the page where you want to take a long screenshot. Take a screenshot using any of the methods mentioned before. You get the screenshot toolbar. Tap on long screenshot button. It will save the long screenshot.How to screenshot on Samsung Galaxy S22 or S22+

    These are the three way to capture a screenshot on Samsung Galaxy S22 or Samsung S22+.